This guide is designed to help you through the process of creating a cloud account and how to use it.
If you run into any difficulty get in touch here
Step 1
Enable the cloud on your GIS unit.
Connect to your GIS unit and visit:
http://aplogin.com/admin/cloud.cgi
Now check the box to enable the cloud, save your settings and make a note of your unit's ID.
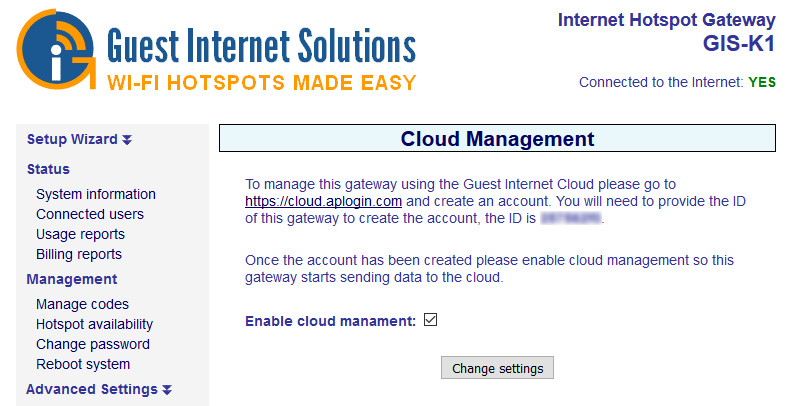
If this page does not exist, you may need a firmware upgrade.
Step 2
Create your new cloud account
To do this visit the following page and enter your details along with your Hotspot ID from step 1
The username is used to log in, make a note of it now so you don't forget
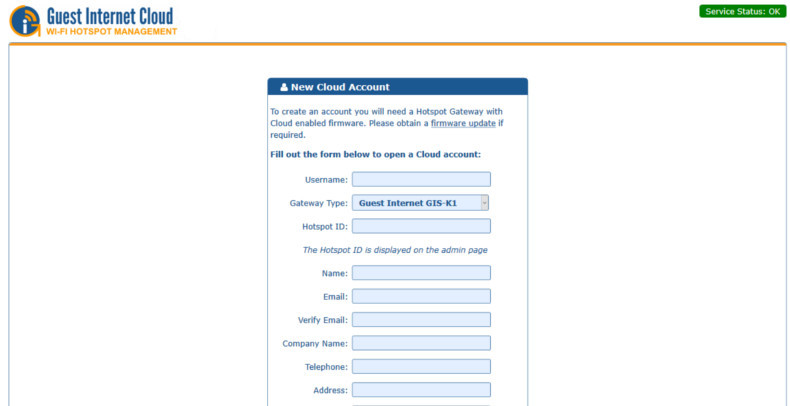
Your email will be used to verify your account and will also be used to reset your account if you forget your password.
Step 3
You will receive an email containing your new password.
Example below:
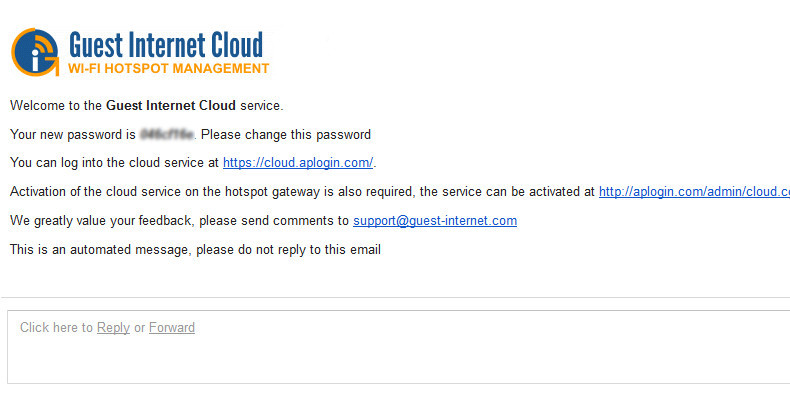
You can now log in using your username and password cloud.aplogin.com
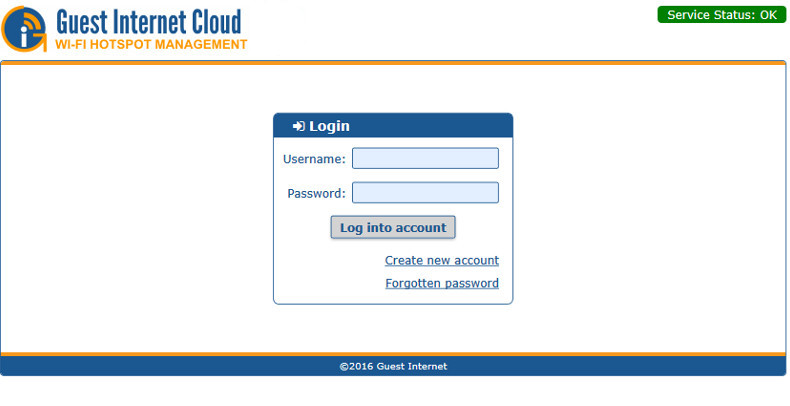
That's it.
You can now control your GIS unit remotely from the cloud. Click below to see the Cloud User Guide